

Hello Everyone,
In this blog we will learn how to add watermarks to product images in Magento 2?
A watermark is a logo. Watermarks are used to show the ownership or identity. Admin can use watermarks of different formats.
Ex. jpg, jpeg, gif, png, etc…
Without wasting your time, let us guide you straight away. Follow the easy step given below to edit your details in magento 2.
STEPS FOR ADD WATERMARKS TO PRODUCT IMAGES IN MAGENTO 2
Step 1: First go to the Magento 2 store Admin Panel and login.
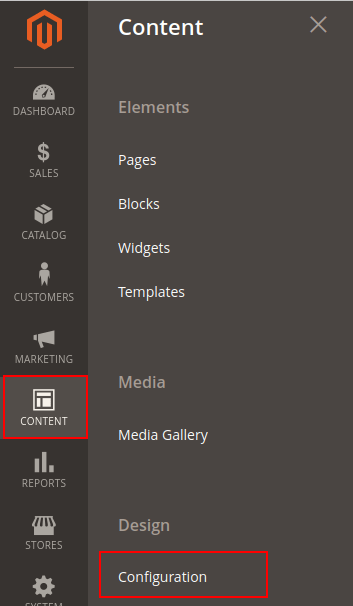
Step 2: Now go to the menu bar on the side. Click on the Content > design > Configuration.
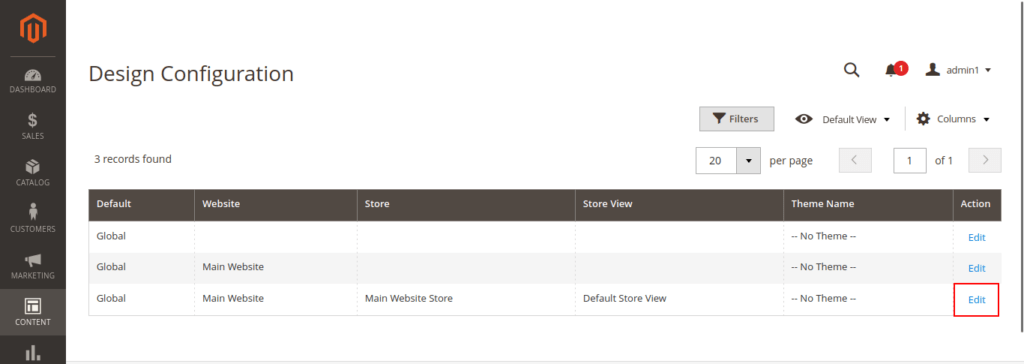
Step 3: Choose your favourite theme. Open it in Edit mode.
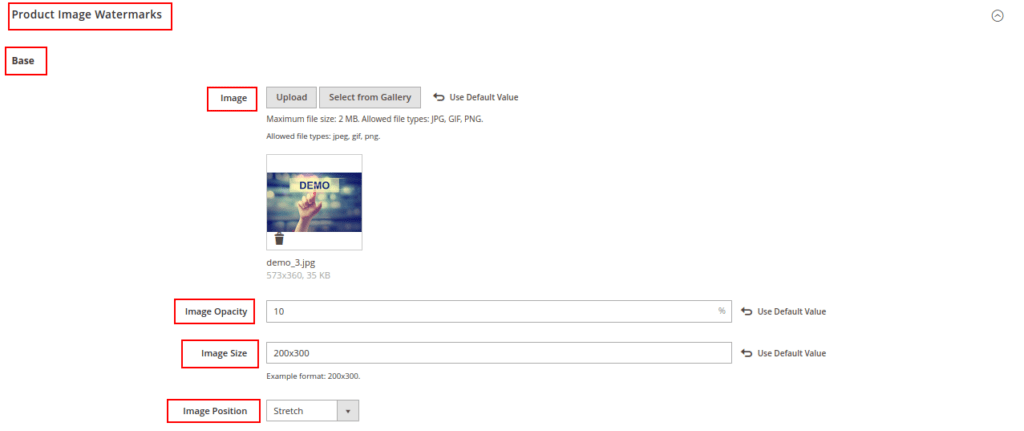
Step 4: Proceed the Product Image Watermark option.
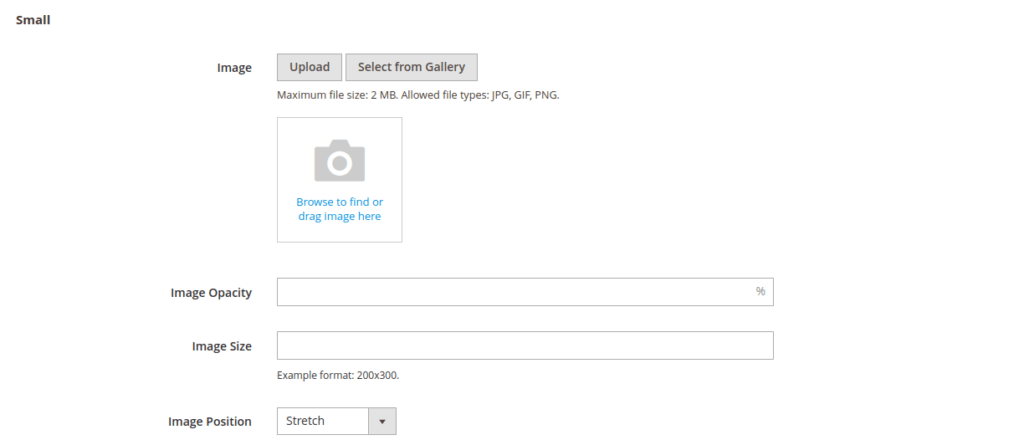
Step 5: Complete the options given below based on the photo.
- Image: Upload an image to appear as a watermark.
- Image Capacity: Set the haziness of the image in percentage.
- Image Size: Set the image dimension in pixels.
- Image Position: Select the position of the watermark image from the available options.
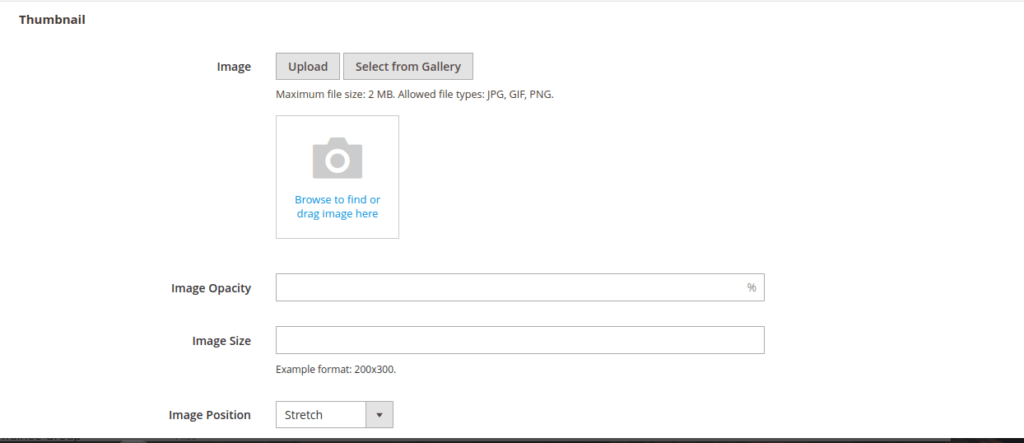
Complete the configuration for thumbnail images.
Complete the configuration for small images.
Step 6: Now go to the SAVE Configuration.After that, Go to Cache Management and Refresh Cache.
Final Thoughts:
So this was the easiest way which we have told you in this blog. This is how you can add watermarks to product images in Magento 2. Hope you liked the blog.
So quickly go to the comment box and tell me how you like this blog?
Stay tuned with us on our site to get new updates of Magento.
Thanks for reading and visiting our site.